noviembre 05, 2025

Weeks 10: Introduction to Spreadsheets and Their Basic Elements

CLASS OBJECTIVE

Learn what a spreadsheet is and identify its basic elements (cells, rows, columns, data types, toolbar, and formulas) in order to understand how spreadsheets can organize and analyze information easily.


How to use Google Sheets: A beginner's guide | Zapier

CLASS AGENDA

Introduction:

“Have you ever used a table to organize your expenses, grades, or schedules? Imagine if that table could calculate for you!”

  1. Short Review:

    Discuss how forms or surveys collect data that can be analyzed with spreadsheets.

  2. Explanation:

    What is a spreadsheet (Google Sheets / Excel)?

    Main elements:


  • Cell, Row, Column

  • Active cell and cell address

  • Formula bar and toolbar

  • Sheet tabs and menus

    Types of data: text, number, date, formula.

    Basic uses: organization, calculation, data presentation.


  1. Demonstration:

    Open a new spreadsheet and identify each element.

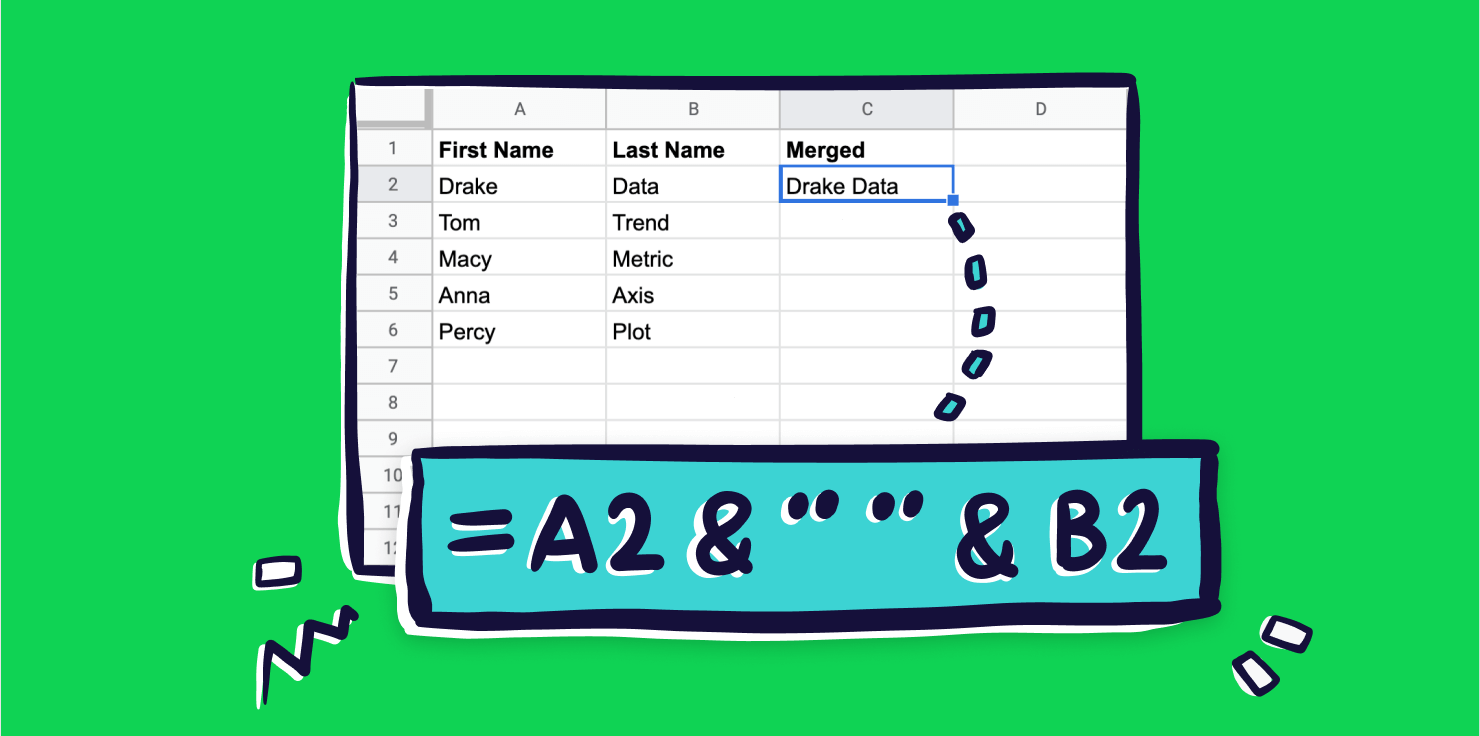
    Google Sheets: Getting Started with Google Sheets

  2. Activity – “My First Spreadsheet” (posted in Classroom):

    Create an screenshot and edit it mentioning each element of the spreadsheet.

  3. Homework –

    Complete your spreadsheet at home and upload it to Classroom.

  4. Take notes in your notebook.


๐Ÿงฎ NOTES IN YOUR NOTEBOOK

Answer these questions:

  1. What is a spreadsheet used for?

  2. What are rows and columns?

  3. What is the difference between data and formulas?

  4. Why are spreadsheets important for students or offices?


๐Ÿ“Œ KEYWORDS

Spreadsheet: A digital table used to organize and calculate information.

Cell: The intersection of a row and column.

Row: A horizontal line of cells.

Column: A vertical line of cells.

Formula: A rule or operation used to calculate values.

Data: Information entered in the spreadsheet.

Toolbar: The area with icons and commands to edit the sheet.

Sheet tab: The name and section of each spreadsheet inside a file.

AutoSum: A tool that automatically adds selected numbers.


๐Ÿ–‹ HOMEWORK

Will be published in Classroom.

octubre 28, 2025

Week 9 - Summative Evaluation.

๐ŸŽฏ CLASS OBJECTIVE

During this week, students will complete the Summative Evaluation for Period 1 to demonstrate everything learned about Google Workspace tools, focusing on Google Forms and digital organization skills.


Instructions for Exam preparation | Oxford Schools

๐Ÿ—“  CLASS AGENDA


๐Ÿช‘ Step 1 – Organization

  • Take your seat according to your list number.
  • Wait quietly for the teacher’s instructions.

๐Ÿ“‹ Step 2 – Instructions

  • Listen carefully to the teacher’s explanation of the exam.
  • All questions and answers will be completed in Google Classroom.
  • Remember to stay logged in with your school account.


๐Ÿ’ป Step 3 – Exam Application

  • Open the exam form shared in Google Classroom.
  • Read each instruction carefully before answering.
  • Check your answers before submitting your form.
  • Once you finish, raise your hand to let the teacher know.

๐Ÿ–Œ Step 4 – Cover Page for Next Period


While the teacher is reviewing grades:

  • Design your new notebook cover for Period II.
  • Include your name, group, subject, teacher’s name, and the evaluation criteria for the next period.
  • Be creative and neat!
10 Ways to Prepare for Your Final Exam - Florida National University (FNU)

๐Ÿ”š  CLASS CLOSURE

  • Close your session and log out of your account.
  • Turn off your computer monitor.
  • Stay quiet and wait for the teacher’s instructions before leaving the classroom.

๐Ÿ“Œ  REMINDERS

✅ Bring all your materials ready for Period II.
✅ Respect your classmates while they are finishing their exam.
✅ Keep your notebook organized — it will be checked next class.

octubre 22, 2025

Week 8 - Google Forms – Review and Practice

CLASS OBJECTIVE


Review and strengthen everything learned about Google Forms — creating questions, using sections, sending and configuring forms — to make sure students feel confident and ready to use it on their own.


Google Forms: Online Form Builder | Google Workspace
๐Ÿ—“  CLASS AGENDA

๐Ÿ’ฌ Introduction 
“What was the most useful thing you learned about Google Forms in the last classes?”
Students share quick ideas and examples.


๐Ÿ” Short Review 

Teacher shows simple examples of:

  • Question types (open-ended and closed-ended).
  • Sections and how they organize long forms.
  • Sending options and response collection.
  • Settings such as editing permission or response limits.

๐Ÿ’ป Practice Time

Students work in Google Forms to review and practice everything learned.

They will create and edit short forms, apply organization with sections, and explore different sending and configuration options.

The teacher will give guidance and small tasks to reinforce what was learned in previous weeks.

How to Make and Use a Google Form Survey
๐Ÿ’ก Reflection

Class discussion:

What was easy to remember?
What was difficult to do?
How can these skills help you in other school activities?


๐Ÿ““  NOTES IN YOUR NOTEBOOK

Answer these questions:

Why is it useful to divide a form into sections?
What part of Google Forms do you feel most confident using?
What will you keep practicing before the exam?
How could a well-made form help you at school or at home?

Google Forms Tutorial: How to use Google Forms in 2025

๐Ÿ“Œ  KEYWORDS

Question: A request for information or opinion.
Section: A group of questions that helps organize a form.
Responses: The answers people give to your form.
Settings: Options that control how your form behaves.
Survey: A form used to collect opinions or information.
Sharing link: The address you send so others can answer.
Quiz mode: A setting that turns a form into a quiz with points.


๐Ÿ–‹  HOMEWORK

Will be published in Google Classroom.
Remember to check your account and write it in your agenda.

octubre 06, 2025

Weeks 6 & 7: Google Forms – Responses and Form Settings

CLASS OBJECTIVE

Learn how to access and analyze responses in Google Forms and configure settings such as response limits, editing permissions, and quiz options in order to make forms more efficient and secure.


How to create a quiz in Google Forms in 2025 | The Jotform Blog

CLASS AGENDA:
  • Introduction: “Have you ever sent a form and then realized people could answer it multiple times or edit their answers?”

1. Short Review: Sections and sending options from last class.

2. Explanation:
  • How to view and analyze responses (summary, individual, spreadsheet)
    • How to configure settings:
    • Limit to one response per person.
    • Allow or prevent editing answer.
    • Activate quiz mode (optional).
  • Why settings matter for surveys, quizzes, or registration forms.

3. Demonstration:
  • How to open the responses tab and adjust settings step by step.
4. Activity – “My First Configured Form” (posted in Classroom).

5. Homework – Make sure to write it in your agenda.

6. Take notes in your notebook.


Student chooses correct answer in test online quiz e-learning distance  education concept horizontal | Premium Vector


๐Ÿ““ NOTES IN YOUR NOTEBOOK
  • Answer these questions in your notebook:
    1. How can response settings make a survey more reliable?
    2. When would you use “limit to one response”?
    3. How could response data help in real school projects?
    4. Why is it important to control how people answer a form?
๐Ÿ“Œ KEYWORDS

  • Responses: The answers collected from people who complete your form.
  • Summary View: A visual display of all collected answers.
  • Individual View: Shows one respondent’s answers at a time.
  • Spreadsheet: A linked Google Sheet that stores all responses.
  • Settings: Options that define how your form behaves and how users can respond.
  • Limit to one response: Restricts users from submitting more than once.
  • Edit after submit: Allows users to modify their answers after submission.
  • Quiz mode: Turns your form into an automatic quiz with points.
  • Permissions: Rules that define who can access, answer, or edit your form.

๐Ÿ–‹ HOMEWORK
Will be published in Classroom.

septiembre 26, 2025

Week 5: Google Forms: Types of question in a form.


Class Objective


Design and insert different types of questions in Google Forms in order to distinguish between open and closed questions and practice creating effective questions for real-life contexts.

Formularios de Google | ๐Ÿ‘จ๐Ÿป‍๐Ÿ’ป Raรบl Diego ๐Ÿš€

Class agenda:

  1. Introduction: “Have you ever answered an online quiz or survey? Did you enjoy it or was it boring?” 
    1. Short review: What is Google Forms? 
  2. Explanation: Open-ended vs. Closed-ended Questions.
    1. Tips for writing good questions (clear, specific, avoid confusion).
    2. Demonstration: How to insert question types in Google Forms (short answer, paragraph, multiple choice, checkboxes, dropdown).
  3. Activity – “My First Mini-Survey” (posted in Classroom).
  4. Homework –  Make sure to write it in your agenda.
  5. Take notes in your notebook
Open-Ended vs. Closed Questions in User Research - NN/G

๐Ÿ““ Notes in your notebook

Answer these questions in your notebook
    1. What's the difference between open-ended and closed-ended questions?
    2. If you were creating a survey for your friends, what topic would be the most interesting for them? Write 3 examples of questions you would ask.
    3. Mention the characteristics of a well-asked question.

๐Ÿ“Œ Keywords:

  1. Open-ended question - This question lets you answer in your own words.
  2. Closed-ended question - This question has a specific answer to pick from.
  3. Multiple choice - This question must be answered with just one option from the list.
  4. Checkbox - This question can be answered with more than one option from the list.
  5. Dropdown - List of possible answers to choose from. You can select only one.
  6. Survey - A form that asks for opinion.

๐Ÿ–‹ Homework:

Will be published in Classroom.