
Learn how to access and analyze responses in Google Forms and configure settings such as response limits, editing permissions, and quiz options in order to make forms more efficient and secure.
CLASS AGENDA:
- Introduction: “Have you ever sent a form and then realized people could answer it multiple times or edit their answers?”
1. Short Review: Sections and sending options from last class.
2. Explanation:
- How to view and analyze responses (summary, individual, spreadsheet)
- How to configure settings:
- Limit to one response per person.
- Allow or prevent editing answer.
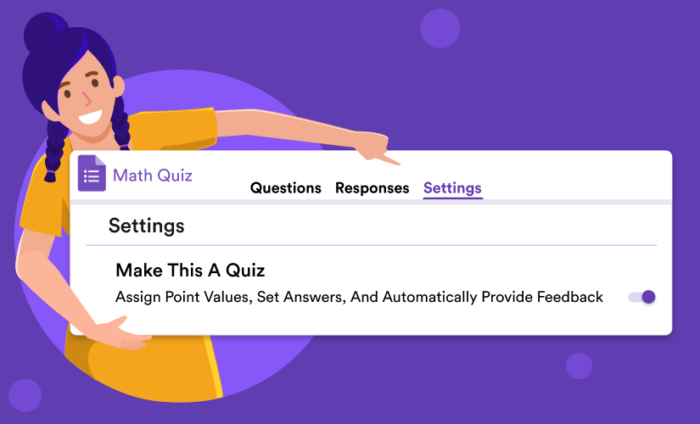
- Activate quiz mode (optional).
- Why settings matter for surveys, quizzes, or registration forms.
- How to open the responses tab and adjust settings step by step.
5. Homework – Make sure to write it in your agenda.
6. Take notes in your notebook.

📓 NOTES IN YOUR NOTEBOOK
- Answer these questions in your notebook:
- How can response settings make a survey more reliable?
- When would you use “limit to one response”?
- How could response data help in real school projects?
- Why is it important to control how people answer a form?
- Responses: The answers collected from people who complete your form.
- Summary View: A visual display of all collected answers.
- Individual View: Shows one respondent’s answers at a time.
- Spreadsheet: A linked Google Sheet that stores all responses.
- Settings: Options that define how your form behaves and how users can respond.
- Limit to one response: Restricts users from submitting more than once.
- Edit after submit: Allows users to modify their answers after submission.
- Quiz mode: Turns your form into an automatic quiz with points.
- Permissions: Rules that define who can access, answer, or edit your form.
🖋 HOMEWORK
Will be published in Classroom.